How To Flatten Cow Horn
Shaping or flattening horn from cows, sheep, or goats was once a common practice.
In days gone by shaped or flattened horn was used for everything from horn books to fancy hair combs as well as many other uses. Shaping or flattening horn is still being done today, but nowhere near as commonly as in the past.
Here at CowboyWay.com we decided to try and flatten part of a cow horn just for fun. Even though we had never done it before, we managed to do it (mostly) successfully.
While we know that flattening horn one time doesn't make us experts, we still thought it would be fun to share with you how we did it.
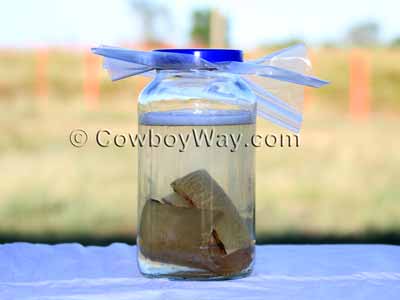
Below: Cow horn soaking in ammonia.
First: About Horns and Heat
When horn is heated it becomes soft or pliable (relatively speaking, that is) and can be shaped. To the best of our ability to research it, horn is most commonly heated for shaping by dry heat (such as baking, using a paint stripping gun, etc.) or by boiling (either in water or some type of oil).
Since we know two different people that boil horn in water to soften it in order to make belt buckles, boiling horn was initially our first choice. However, both of the folks we know told us the horn would have to boil for several hours and we wondered if there was another method of softening it that wouldn't involve us standing around watching a pot of boiling water.
That was about the time we found an article on the Web that briefly mentioned soaking goat and sheep horn in ammonia in order to soften the horn to shape it. (By the way, this article has since disappeared or we would have linked you to it.) We liked the idea of not babysitting a pot of boiling water for hours so we decided to give the ammonia method a try on cow horn.
Softening Horn With Ammonia
Here's the horn we started with. It was 14 inches long and had a circumference of 7 inches at the base.
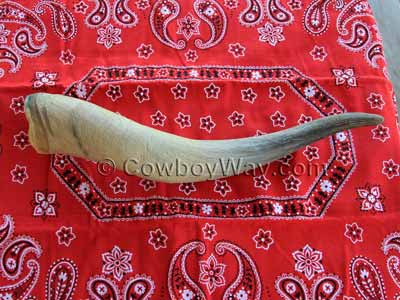
The horn we used came off of a cow or steer (we don't remember which) that had died, then the horn slipped off of the skull after it had been bleached in the sun. So, the first thing we did was clamp the horn in the JawHorse and use a saw to cut the scraggly end off of the base of the horn.
If you have a horn that came off of an animal that was de-horned while it was still alive its base might not need trimmed.
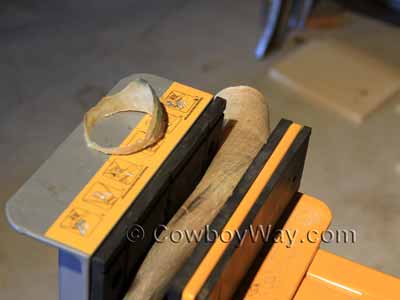
After we cut off the scraggly base of the horn we sawed off a piece near the base about two-and-a-half inches long.
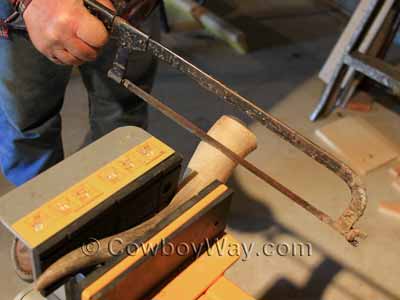
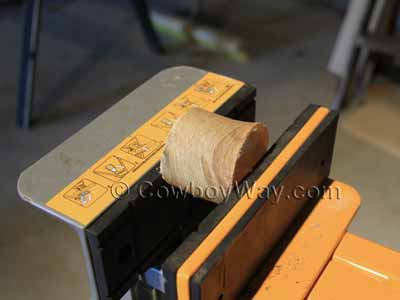
Then we put the piece of horn into the JawHorse......
......and used a Dremel with a #540 cut-off wheel (i.e., the type of blade attachment)......
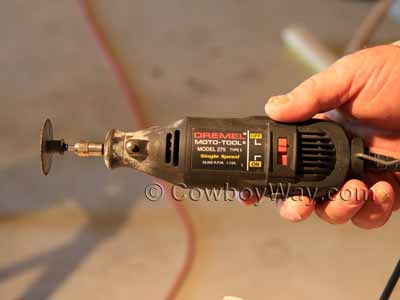
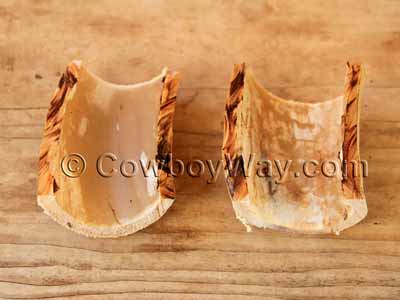
......to cut the piece into halves. We could have used a saw for this, too, like we did above, but we had the Dremel handy so we used it. Each half was approximately 1/4 of an inch thick.
By the way, the Dremel made nice cuts for us, but if you hurry it (like we did) you can scorch the horn with the Dremel blade. You can see the dark brown scorch marks in the photo.
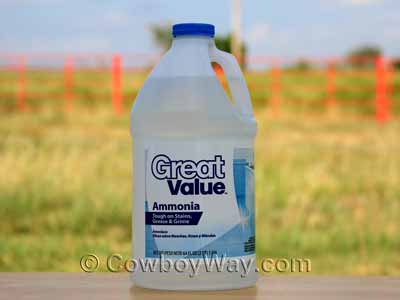
Next we put the two pieces of the horn into a glass jar and poured in enough regular household ammonia to cover them by a couple of inches or so.
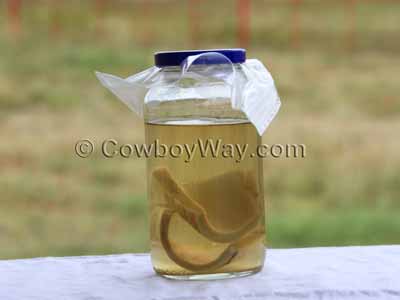
Below are the two pieces of the horn in the glass jar of ammonia. We left them in the jar for two weeks.
Note: It turned out that the jar we used wasn't the best size for the job. The opening at the top was just big enough for the horn pieces to fit inside, but after soaking in ammonia for two weeks one of the pieces couldn't come back out. Whether the horn had swelled slightly from taking on liquid, or had relaxed its shape and spread ever so slightly (which you couldn't tell by looking at it) we don't know. The other piece came back out of the jar with no trouble.

Here are the horn pieces in the jar of ammonia two weeks later. The ammonia had become slightly cloudy.
After allowing the horn pieces to soak in the ammonia for two weeks we removed one of the pieces (the other piece was stuck in the jar as mentioned above). The horn looked just the same as it did when it went in and still felt very hard, but it was somewhat slimy to told on to.
We had planned on clamping the horn flat using the boards and clamps you see in the photo below. However, after clamping the horn as tightly as we could between the boards it still had its original shape and the clamps were threatening to break.
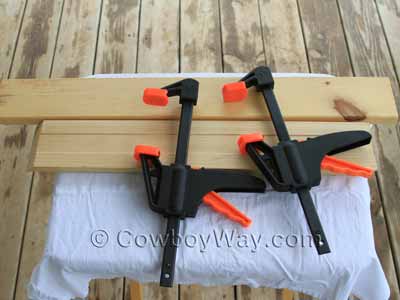
So, we went to plan "B" and clamped the horn between the two boards using the JawHorse.
We left the horn clamped between the two boards in the JawHorse for five days.
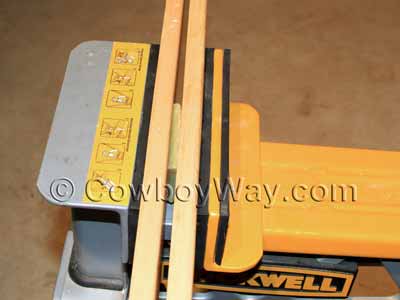
After five days we took the boards out of the JawHorse and removed the horn from in between them. The horn was stuck a little bit to the boards, but it pried off with just our hands without too much trouble. The horn was mostly flattened, but still had some curl to it. If you sniffed it closely it smelled lightly of ammonia.
Below is the mostly flattened horn 12 days after being removed from between the boards. It seems to be holding its new shape completely, and no longer has even the faintest hint of an ammonia smell.
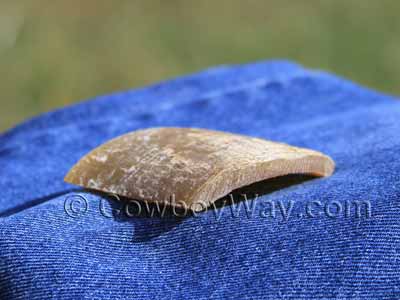
Flattening Cow Horn - In Conclusion
Did our horn turn out perfectly flat? No. This is partly due to the piece of horn not being a uniform thickness; one side in particular was thinner than the other and didn't get tightly clamped in the JawHorse. If you look closely at the photo above where the horn is between the boards in the JawHorse you can see one edge (the top edge in the photo) isn't even in contact with both boards.
However, the horn is obviously a lot flatter than it was, so we're pretty pleased with our flattening-horn-using-ammonia-to-soften-it experiment.
We don't know if boiling the horn to flatten it would have worked better than ammonia because we've never tried that method. If we decide to give boiling a try some time we'll let you know how it works out.
How To...
… Care For Your Felt Cowboy Hat
… Care For Your Saddle Pad Or Blanket
… Close A Gate With A Chain Latch
… Estimate Cattle Age By Their Teeth
… Fishtail Braid Your Horse's Tail
… Make A Bridle Rack Out Of Tin Cans
… Make A Collapsible Wood Saddle Rack
… Make A Flag Boot Out Of A Horn
… Make Homemade Hoof Conditioner
… Make Homemade Horse Fly Spray
… Measure A Western Saddle Seat
… Put A Horn Knot On Your Rope
… Put A Speed Burner On A Honda
… Recognize Common Horse Colors
… Recognize Common Horse Face Markings
… Stop A Saddle From Squeaking
… Tell A Boy Cow From A Girl Cow
… Tell A Horse Skull From A Cow Skull
… Tie A Stopper Knot
Tie a stopper knot for the end of a rope, or a metal, rawhide, or plastic honda
… Tie A Stopper Knot For A Honda
Tie a stopper knot for a tied honda
… Understand Leather / Hide Thickness
… Weigh A Horse and Optimize Rider Weight
… Wrap A Saddle Horn With Rubber
You Might Also Like...
